This DIY Floating Glitter Tumbler Tutorial Will Add Sparkle to Your Life
Studio DIY is pretty much every crafting-obsessed person's go-to site for the cutest and most colorful tutorials.
I may be a novice when it comes to DIY, but I do spend a fair amount of my free time scrolling through the exciting projects on the site.
I never had the courage to actually try one, until I spotted THIS tutorial for a DIY floating glitter tumbler.

(via Studio DIY)
Looking fairly simple to recreate, I gave it a go. Keep scrolling to see what happened.
This DIY is pretty simple, so all you need is:
- A clear photo tumbler (I got mine from Amazon HERE)
- Glitter, sequins or confetti of your choosing
- Water

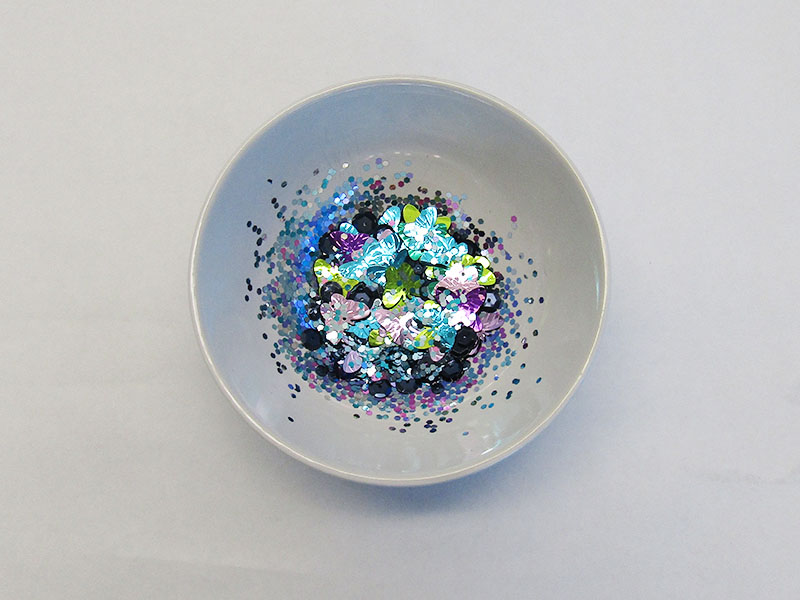
To start things off, I mixed together a bunch of different glitter, sequins and butterfly confetti in a small bowl.
The smaller flecks of glitter didn't mix too well with the sequins and butterfly confetti, as they sort of just stuck to the bottom of the bowl.
It didn't really matter though since it all ends up in the same place.

Once my sparkly concoction was ready to be poured into the tumbler, I unscrewed the bottom of the cup and took out the paper insert.
To make the process of dishing the glitter into the tumbler a little bit easier, I used a spoon to dump it in.
When every last fleck of glitter was out of the bowl and in the tumbler, I filled it to the brim with water to give the sparkles that floating element.

Just like that, my floating glitter tumbler was complete and I felt like quite the crafting queen.
I do think I could've put a bit more glitter and sequins into the tumbler, but it's best not to overdo it. Especially because you need to make sure you save room for some water.

If you're feeling extra crafty after seeing (or even trying) this DIY, head over HERE to see how you can DIY your own pair of glitter shoes.