I Tried Rainbow Eye Makeup—and I Think I’m In Love
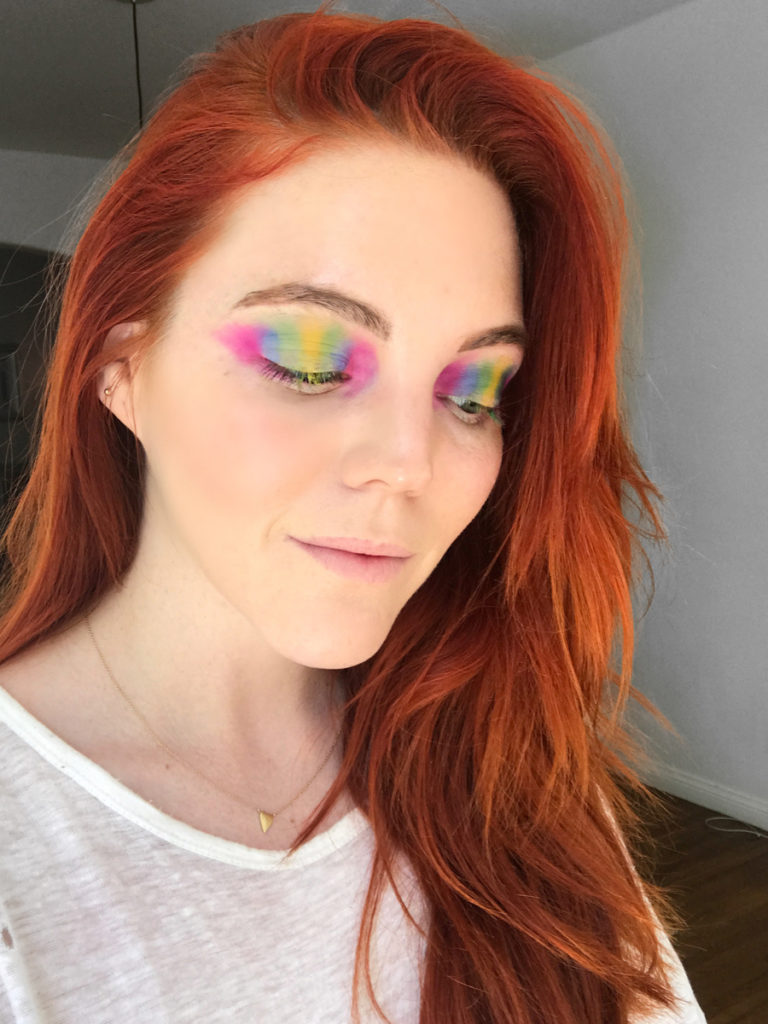
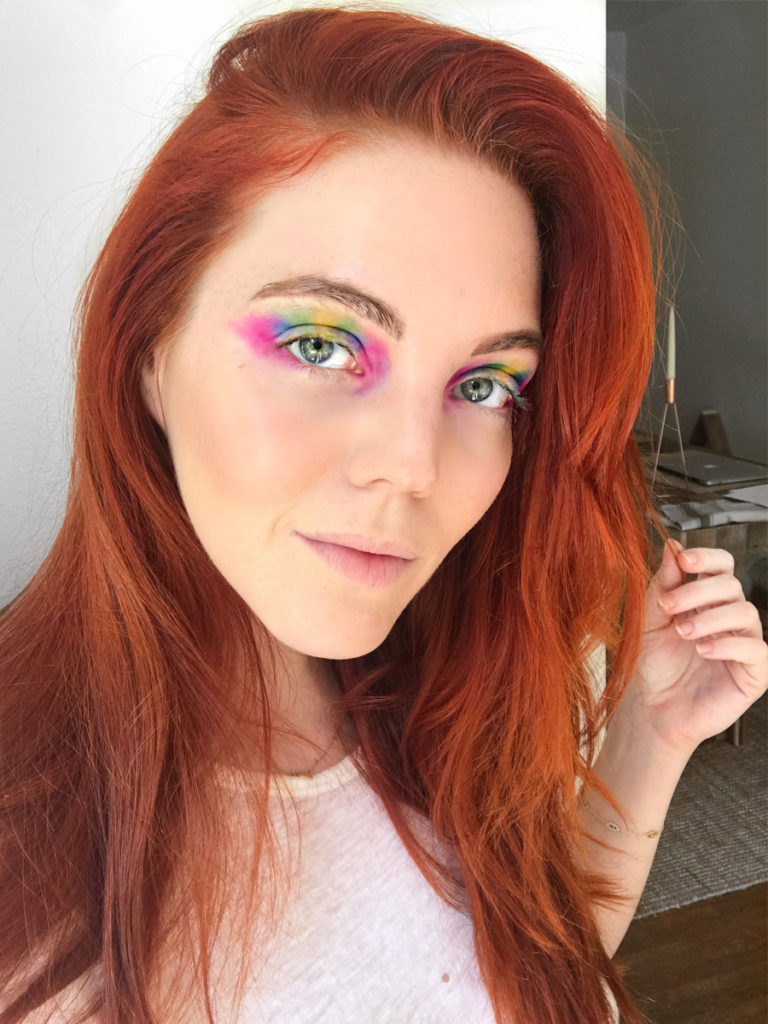
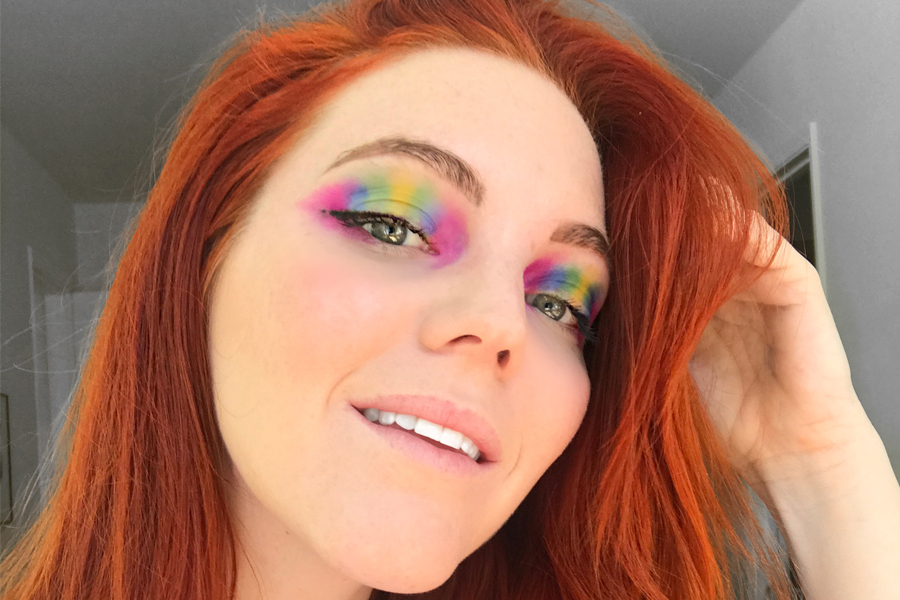
In my most recent crazy beauty trend attempt, I decided to recreate a colorful rainbow eye makeup look that I spotted on Lime Crime's Instagram.
BTW, they totally have the craziest, coolest ideas for inspiration on their 'gram, so you should definitely give them a follow if you're into trying funky beauty concepts like me.
First off, who doesn't love rainbows? They're cool and colorful, and even better if they're on your eyes, right? Believe it or not, I think this might be one of the easiest beauty looks I've tried out and I am really digging the result. No joke, I think this is the new me. Below is my step-by-step guide on how to turn your eye makeup game into a real-life rainbow emoji????! It really only took me about 10 minutes—check it out, try it yourself, and I promise you won't be disappointed.
Step 1: Pink
Start with the outer and inner corners of your eyes and work your way in. I'm sure people have their own techniques for this, but here was my reasoning: The middle is light yellow, so if you start with the yellow first, there is a good chance there will be blue, green and pink shadow dust flying around during the application, which would cause the yellow to turn nasty. So, I started with the outer and inner corners of my eyes and applied my pink with a normal shadow brush. All the eyeshadow colors I used for this tutorial are from NYX's Primal Colors collection, which are inexpensive and super pigmented. MAC also makes great options, too.

Step 2: Blue
Next, blue! I switched to a small eyeshadow brush here so I could be really specific with my blue shadow. In hindsight, I think I made my pink sections a little bit too large, but it's the imperfections that make this makeup style unique, so I embraced it.

Step 3: Green
Getting the green and blue to stand out next to each other was the biggest challenge. I really had to go over the blue and green sections a lot to make them defined but also blended.


Step 4: Yellow
I only had a little sliver left on my lids for the yellow shadow. This really pulled the look together and I love how the yellow makes the look pop. I decided to forgo the orange shading in the middle for a couple of reasons. First, I couldn't find a super pigmented orange, I could only find peach. And secondly, I ran out of space. I have medium-sized lids and I think the demo from Lime Crime was done on someone who has a way larger eyelid than me–something to keep in mind.


Step 5: Liner + Mascara
I'm not a fan of wearing eyeliner or mascara. I love it on other people, but I suck at applying liner and I think a natural lash is super pretty and romantic. So at first, I was hesitant to add it on because I really liked the look without, but to fully recreate the look, I decided I had to move forward with this step. And guess what? It looked even better with a little liner and mascara. Something about having all these bright colors next to your eyes really makes your eye color stand out, especially for green-eyed gals like me.


Step 6: Hearts Optional
Okay, clearly this step didn't happen for me. The hearts are super cute on the cheek but I knew that was too advanced for me. But if you got the skills, try the hearts.
Final Thoughts
Friends, I am in love and I don't care who knows! I seriously was shocked at how much I liked the result. It's also inspired me to get more creative with colors and shadows because nothing really perks up your mood like a pretty color on your eyelids. This is the perfect makeup look for a festival, a concert or even maybe a birthday party? Heck—I might wear this look one night just because it's cool! I highly recommend you try it out 🙂
Ready to flex more of your beauty skills? Try THIS mermaid eyeliner makeup look.